Showing posts with label Holidays. Show all posts

Thursday, November 12, 2015

Lunch Break Christmas Jackpot!!!!!!!

The Target Onespot is on point for Christmas.  It was made for me.  And it suckered me in, big time.

Red, white, black and burlap and chalkboard.  And plaid!  Is there a surer way to get me this year, than plaid?

Run, don't walk down to Target before all the good stuff is gone.  Except not to the Torrington store, because I got the last of the pillows and some other stuff.  Hopefully they restock!

Here are my picture of the haul:

Really digging the storage baskets in a flame stitch and buffalo check, plus the chalkboard signs in the front.

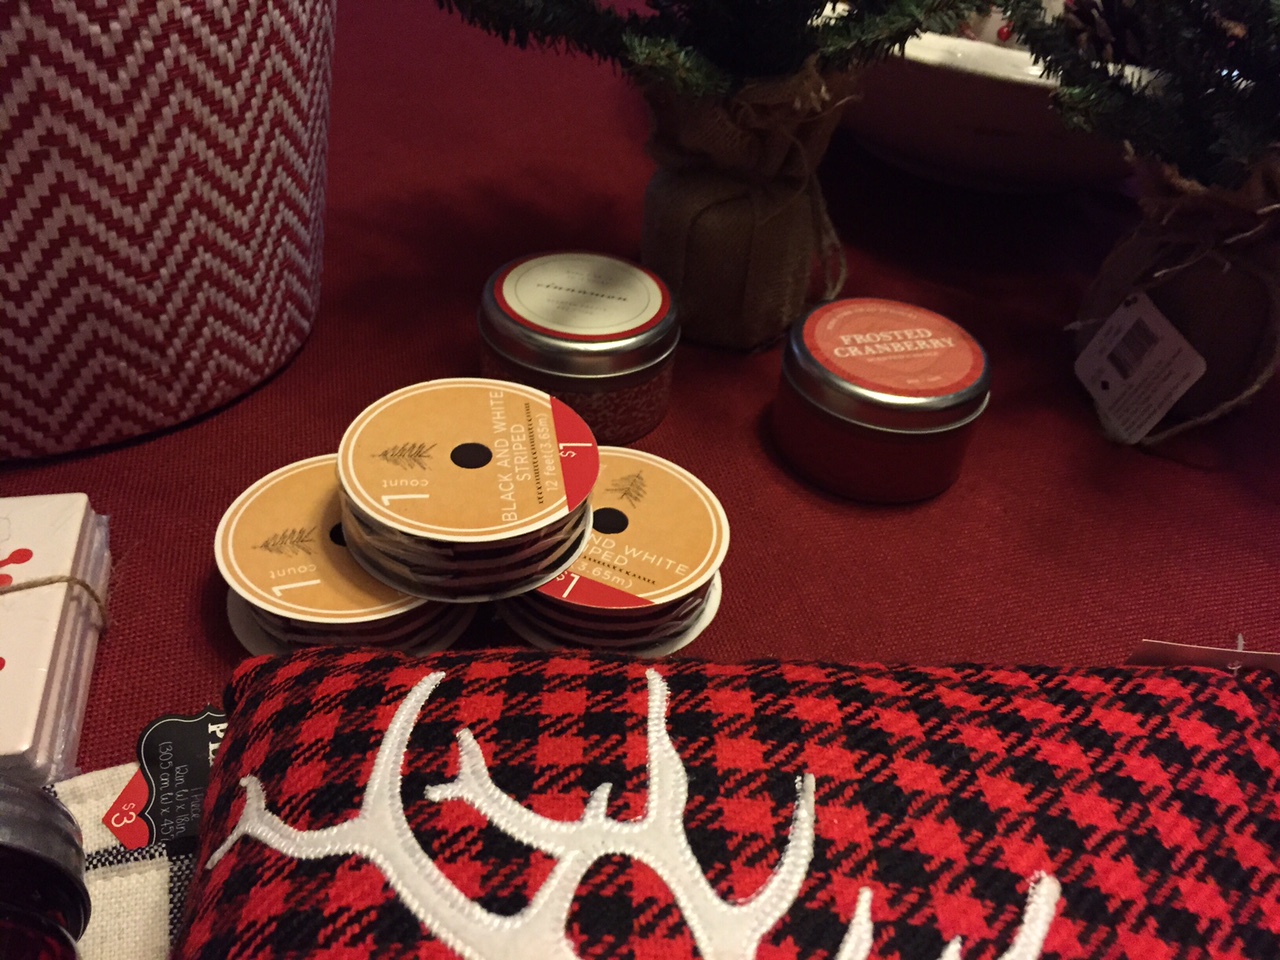
Black and white striped ribbon, and 2 very cute red candle tins

Red and white snowflake coasters, Snowflake straws, and red glass mini jars to use on my planned Holiday Cocoa bar, PLUS a couple of white and black plaid placemats.

$3 pillows!  Enough said.

The cutest mini trees ever.
 

Saturday, October 17, 2015

DIY Ornament Wreath


I have been planning out my Christmas mantel early this year, and I wanted a wreath to be the centerpiece.  Only, I didn't like anything I found in my price range and I didn't want to spend a fortune.

Finally, on Pinterest, I stumbled across this tutorial from Live, Love, DIY.  Here is the link and a picture of one of hers:


So, I took my happy butt down to the Dollar Tree today, just like the blog tutorial woman did, and bought about 150 various red and gold ornaments, (large, medium and small.)  I also bought some ribbon and a Styrofoam floral wreath form from Joann Fabric.  I probably spent about $20 total.  Still worth it, compared to the high prices of wreaths I had been scoping out.
 
Here are my pictures and the final product!  I am going to make a fancy bow closer to Christmas with this Bow maker thing I got at the church penny auction last year. 


Thursday, October 15, 2015

Recent Projects: Valances and Faux Chalkboard Holiday Pillows

Even though I haven't been great about blogging lately, I have still been doing a ton of projects!

First of all, I finally finished sewing valances for my mother's sunroom windows.  there are nine tall but skinny windows, and my mother had picked up the perfect golden colored fabric with a tiny white foliage pattern on it, that gives the effect of a texture more than a pattern, since it is so small.  Then we used satin yellow ribbon to tie them up.  I'm pretty pleased with how it turned out.


And yes, I am a Christmas junkie.  Everybody knows I am.  And yes, I already have my holiday mantel planned out (you can never be too ready, wink, wink.)  I couldn't wait to get started on these.  They came out reasonably close to my vision.  But I wasn't willing to pay 30 to 50 dollars a piece for the versions I was seeing on world market, Etsy, Zazzle or Pottery Barn either.  So, DIY it was.

First of all, I started with 2 Hobby Lobby pillow covers.   Yes, that place hurts me in a political sense, but I'm a sucker for crafts so I apologetically compromised my belief system for $9.99 pillow covers in the shade of black that I wanted.  The border was brown jute. 


The first thing I did, was take a red sharpie, and color the borders red.  This was a little time consuming, but I did it mindlessly while watching a movie, so no big deal.

Next, I printed out two inspirational free chalkboard printouts.  I found both on Pinterest, but the links to the actual bloggers/printables are as follows.  The "Let it Snow" one is from Craftberrybush.com and the Baby It's Cold Outside is from UpcycledTreasures.com 

You know, you might never have thought of it but just search on Pinterest or google for "free printables."  You would not believe how many bloggers out there have done the creative legwork for you, and they are sharing it, very generously, for free!  It's a fantastic resource for decorating and it can save you money.  Just change out the pictures in frames you already have, seasonally.


So, using an exacto knife, I imperfectly cut out the letters to make stencils.  Then I filled in the stencils with chalk to have a vague outline.   In my perfect world, I would have had vinyl stencils and used chalk spray paint to do these properly.  I ended up free-handing much more than I wanted to.  I used matte chalk paint and a tiny paintbrush to fill in the letters myself. 


And here you go.  Finished products.  This project cost me about $25 total, which was about a fifty percent savings and then you also have the ability to tell someone, "I made that" which is always a nice feeling.


Can't wait until Christmas 2015!!!!!!!!!!!!!!!!!!!!!!!!!! I am ready.


Tuesday, June 30, 2015

Celebrating the 4th!

Traditionally, I have not decorated much for this holiday.  Mostly because it seems to come and go quite quickly, during a busy time of year.
But, since I am already doing a red, white and turquoise/teal blue theme in the living room, it was easy to put something together for this year.

So, I took a bit of poetic license with the Navy color.  Jennifer teased me, because I said that it was "French Country" 4th of July, but oh well. 

I found these three Mason jars at Joann's Fabrics, and they will match my décor all year round and fill the odd empty spot in front of our TV. 


As for the paper bunting, I have a ton of scrapbook paper just dying to get used, so I made triangles, and sewed a cotton red yarn through the top of each triangle through two holes I poked in them with a darning needle.  The thread was that "Sugar and Cream" cotton type, so it is more sturdy than acrylic yarn.   The mantle was finished off by an American flag tucked into the rooster aqua pitcher I have, and Joel's patriotic photo of his parents and father in uniform fits right in.)


And lastly, I wanted to highlight the wreath I have had up for some time.  It is just a grapevine wreath, with a center of origami scrapbook paper flowers I made (held together in the middle by glue, string and a button center.) 


Happy Independence Day!

Monday, February 3, 2014

Valentine's Day Decor

My apartment is naturally decorated for Valentine's Day, between the red and pink color schemes.  However, I couldn't help myself.  I had to add a few additional touches, here and there.

I have a love/hate relationship with this day.  For a huge portion of my life I was one half of a couple.  But even then, I always felt conflicted because Valentine's Day never quite lives up to the hype.  And now that I'm single, and have been for some time, I have decided to re-frame how I look at this day.

For the past couple years I've been trying to embrace it creatively as an alternative.  That includes baking delicious cupcakes, buying myself flowers at times, and of course adding home decor touches.  Here are a few snapshots of my holiday touches.

letters are from Michael's Crafts, I painted two red

Red Heart Felt Mat from Michael's Crafts

Jar Candles from Michael's, Signs made by painting Canvas board with acrylic paint, and then cutting out letters and shapes from damask patterned craft paper, then modge podging each onto the boards.

I had my snowflakes up at Christmas, so adding a few paper doily hearts from Michael's to the display seemed like it fit.  I also hung a wooden heart ornament from Michael's that I had painted red/pink with felt tip markers from the knob and my array of french country inspired mugs that are always displayed are very appropriate for V-Day!

Another view, another wooden ornament hung, plus a Fleur de Lis ornament I picked up on Clearance at Pier One after Christmas in 2010 or 2011.
This Michael's Crafts chainlink heart garland was a natural addition to my already pink bedroom.  I might leave it up permanently!

Another View.  Can you see how the hot pink curtains make the whole room glow pink during the day?


Saturday, December 14, 2013

A Joyful Apartment Tour

I am a lousy photographer.  Never has it been more obvious to me then when trying to take pictures to upload to this blog for all of you.  My New Year's resolution will be to purchase a decent camera and start trying to learn how to use it.  In the meantime, this is what you get: my lousy work.  Just remember that everything you ever see from me, looks much better in person.  Too bad I can't invite you all to my home to share, but sadly, since I cannot, we will have to make do.

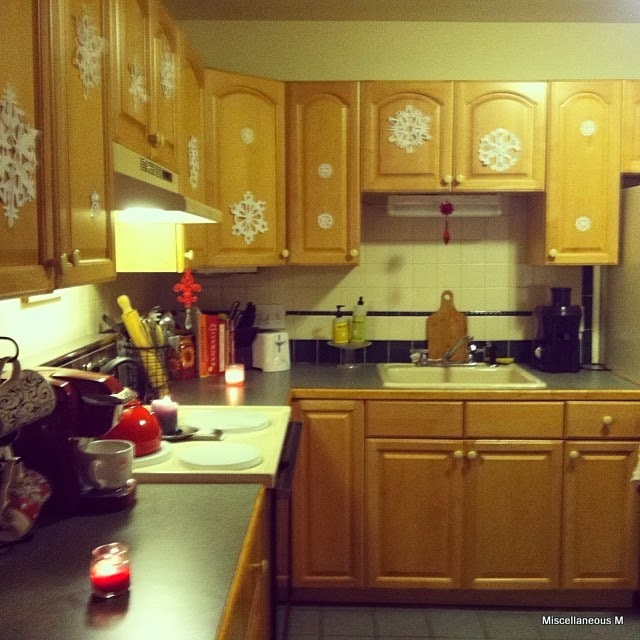
The ornaments on this year's tree are a mix of store bought and handmade: the black globes with silver snowflakes were a fun find from a vintage shop in Dover, New Hampshire.  The silhouette frames were found at a discount shop, and I printed out the black silhouettes myself from clip art and fit them inside.  The needlepoint stars I made myself, and the wooden star ornament I painted with acrylic red paint and red glitter glue.  I also painted several porcelain bulbs with red acrylic and gold acrylic, brushing with red glitter glue to finish .  The "PEACE" sign in red gingham was a Michael's Crafts bargain bin find for a $1 and this year's red, black and beige plaid stockings were a Christmas Tree Shop steal at $3 a piece.   One boring Friday evening I cut out all the snowflakes that you see on the cabinets a week or two ago.  I enjoy mixing DIY projects with purchased decor items.

Happy Holidays from my small space to your home!